This is about the clarity slider in Adobe Photoshop Lightroom 3.4.1 (hereafter called LR3).
The clarity slider has been available in Lightroom since version 1.1 and as a brush setting since LR3 (I think).
Clarity has been called the “make your photo better” slider by Adobe and NAPP resident expert Matt Kloskowski and many, many photographers have used it as a brush setting (small brush, clarity at about -50) as a skin smoothing tool in portrait shots.
But what happens when you crank it up the other way? Turn the knob to 11, as it were.
Well clarity is all about lines and edges so when I took this shot of beautifully patterned tree bark, I knew it was a candidate for some extreme clarity setting.
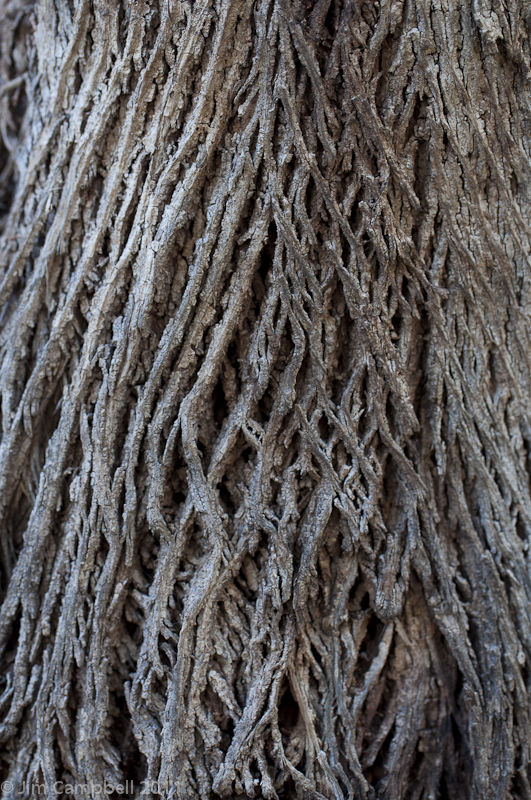
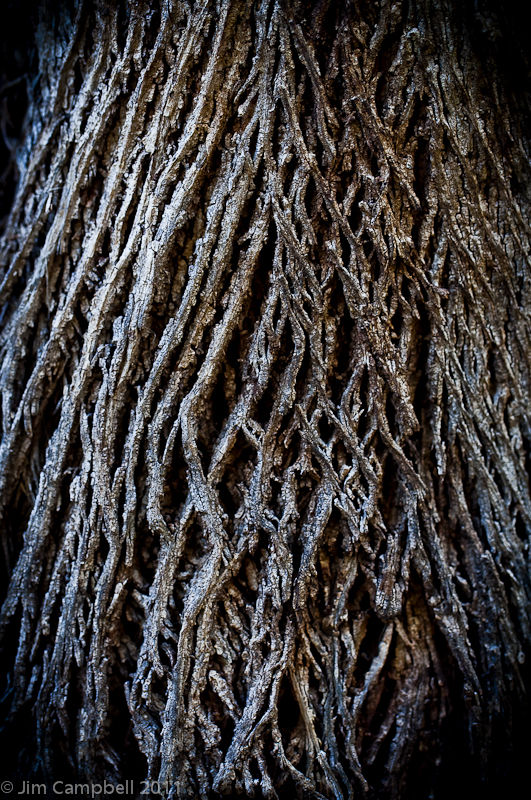
So I cranked the clarity up to 100 over the entire image, did the same with contrast and added a slight vignette to
Do you use the clarity slider in LR3? Leave links to your favourite shot in the comments and let me know what you did, why you did it and why you like the results.
Good Light.
No comments:
Post a Comment